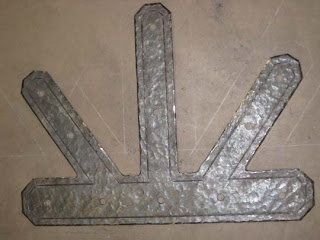
My current project is for brackets on some massive structural beams on a lodge-style home. The brackets will enhance the entrance and vines and leaves will flank the side beams adding a bit of organic whimsy.
side brackets | initial ironwork cut to size and laid onto the cement floor template.
center brackets
embossing | a handmade scribing tool used in the fly press creates detail
hot iron | distressing the metal one blow at a time

detail of the distressed metal edges and color variation the metal takes on

backside bracket | distressed edge, nail holes drilled, no scribing
front side bracket | distressed and engraved edge with nail holes.
nearly 40 handmade nails | some of which will be decorative, others will help hold the brackets in place.
leaves and vines | although time consuming, I enjoy the process of making leaves as each has it's own character.


